Simple Chicken Brine Recipe: How to Brine Pork Chops in 2

Every home cook has faced the problem of dry, tasteless chicken. I’ve had many dinners where my chicken was tough, despite being well-seasoned. But it all changed when I found a simple brine recipe.
Brining made my chicken juicy and full of flavor. Now, my family always asks for seconds. It’s a game-changer in the kitchen.
A simple brine recipe is a kitchen secret. It’s easy and makes chicken taste better. With just a few ingredients, you can make your chicken dishes amazing. It’s perfect for both new and experienced cooks.
Key Takeaways
- Brining guarantees juicier, more flavorful chicken
- A simple brine recipe requires minimal ingredients
- Works for all chicken cuts and cooking methods
- Helps prevent dry, tough chicken texture
- Easy to customize with different herbs and spices
- Suitable for home cooks of all skill levels
What is Brining and Why is it Important?
Brining is a technique that makes ordinary chicken taste amazing. It involves soaking chicken in a saltwater solution. This boosts its flavor and keeps it moist.
Creating a homemade brine recipe is more than just adding salt to water. It’s a science that improves meat quality. Both home cooks and chefs love it.
The Science Behind Brining
Brining changes chicken through osmosis and protein changes. Here’s what happens:
- Salt breaks down protein structures
- Moisture gets trapped inside the meat
- Flavor molecules penetrate deeper into the chicken
Benefits of Brining Chicken
Brining makes chicken better in many ways. Here are the benefits:
| Benefit | Description |
|---|---|
| Moisture Retention | Reduces dryness by up to 300% |
| Flavor Enhancement | Adds depth and complexity to taste |
| Texture Improvement | Creates more tender meat |
Common Myths About Brining
Not all you hear about brining is true. Let’s clear up some myths:
- Myth: Brining makes chicken too salty
Reality: Proper brining creates balanced flavor
- Myth: Any salt works for brining
Reality: Kosher salt is typically best for the best brine recipe
Essential Ingredients for a Basic Brine
Making a perfect brine recipe starts with knowing the key ingredients. These ingredients turn an ordinary chicken into a flavorful dish. A traditional brine recipe uses a few important parts to improve moisture and taste.
To make a great brine, you need to pick ingredients that work well together. They should create a balanced flavor. Let’s look at the basic elements that make a brine stand out.
Salt: The Fundamental Foundation
Salt is the most important part of any brine recipe. It does two main things:
- It breaks down protein in chicken
- It helps meat stay moist while cooking
- It makes flavors go deeper into the meat
Sugar: Balancing Flavor and Texture
Sugar helps balance out the brine. It does:
- It softens the salt’s strong taste
- It helps create a sweet caramelization when cooking
- It balances the taste
Flavor Enhancers: Herbs and Spices
The real magic happens with herbs and spices. They turn a simple brine into a flavor powerhouse. Think about adding:
- Fresh rosemary
- Crushed black peppercorns
- Garlic cloves
- Bay leaves
- Thyme sprigs
By mixing these essential ingredients, you’ll make a brine that makes your chicken amazing.
Step-by-Step Guide to Making a Brine
Making a quick brine recipe is simpler than you might think. Just a few easy steps can turn an ordinary chicken dish into a tasty brine. It will wow your family and friends.
Creating the perfect brine needs precision and care. We’ll break it down into easy steps. This will help you make a delicious chicken brine.
Measuring Ingredients Accurately
The first step to a great brine is precise measurements. Here’s what to follow for the best results:
- Measure salt carefully – typically 1/4 cup of kosher salt per quart of water
- Use a kitchen scale for most accurate ingredient measurements
- Stick to the recipe ratios for consistent flavor
Mixing the Brine Solution
Mixing your ingredients needs a special technique. This ensures everything dissolves fully:
- Heat half the water to help salt and sugar dissolve quickly
- Stir ingredients until completely dissolved
- Add remaining cold water to cool the mixture
Cooling Down the Brine
Temperature is key for a safe and effective brine. Never add raw chicken to warm brine. Here are some cooling tips:
- Refrigerate the brine until it reaches 40°F or lower
- Use ice cubes to speed up the cooling process
- Check temperature with a food thermometer
Pro tip: Prepare your brine in advance and let it chill completely before adding chicken.
Perfect Chicken Brining Times
Brining chicken is an art that needs the right timing. A good brine can turn a regular chicken into a juicy, tasty dish. Knowing how long to brine is key to great cooking.

The brining time changes based on the chicken type and cut. Different factors affect how long the chicken should soak in the brine.
Whole Chicken Brining Guidelines
Here are some brine recipe tips for a whole chicken:
- Small whole chicken (3-4 pounds): 8-12 hours
- Large whole chicken (5-6 pounds): 12-16 hours
- Always refrigerate during brining process
Chicken Breasts vs. Thighs Brining Time
Smaller cuts need less brining time:
- Chicken breasts: 2-4 hours
- Chicken thighs: 4-6 hours
- Boneless cuts brine faster than bone-in pieces
Factors Affecting Brining Duration
Several things can change your brining time:
- Chicken size and weight
- Salt concentration in brine recipe
- Refrigeration temperature
- Bone-in vs. boneless cuts
A turkey brine recipe is similar, but turkey needs a bit more time. Always watch your chicken to avoid over-brining, which can make it too salty.
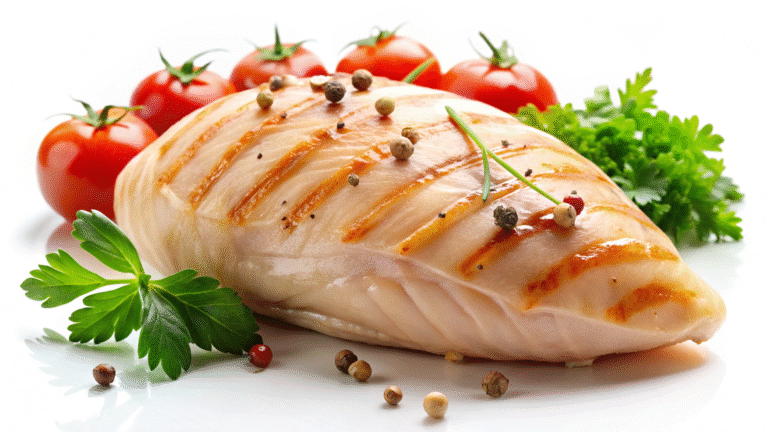
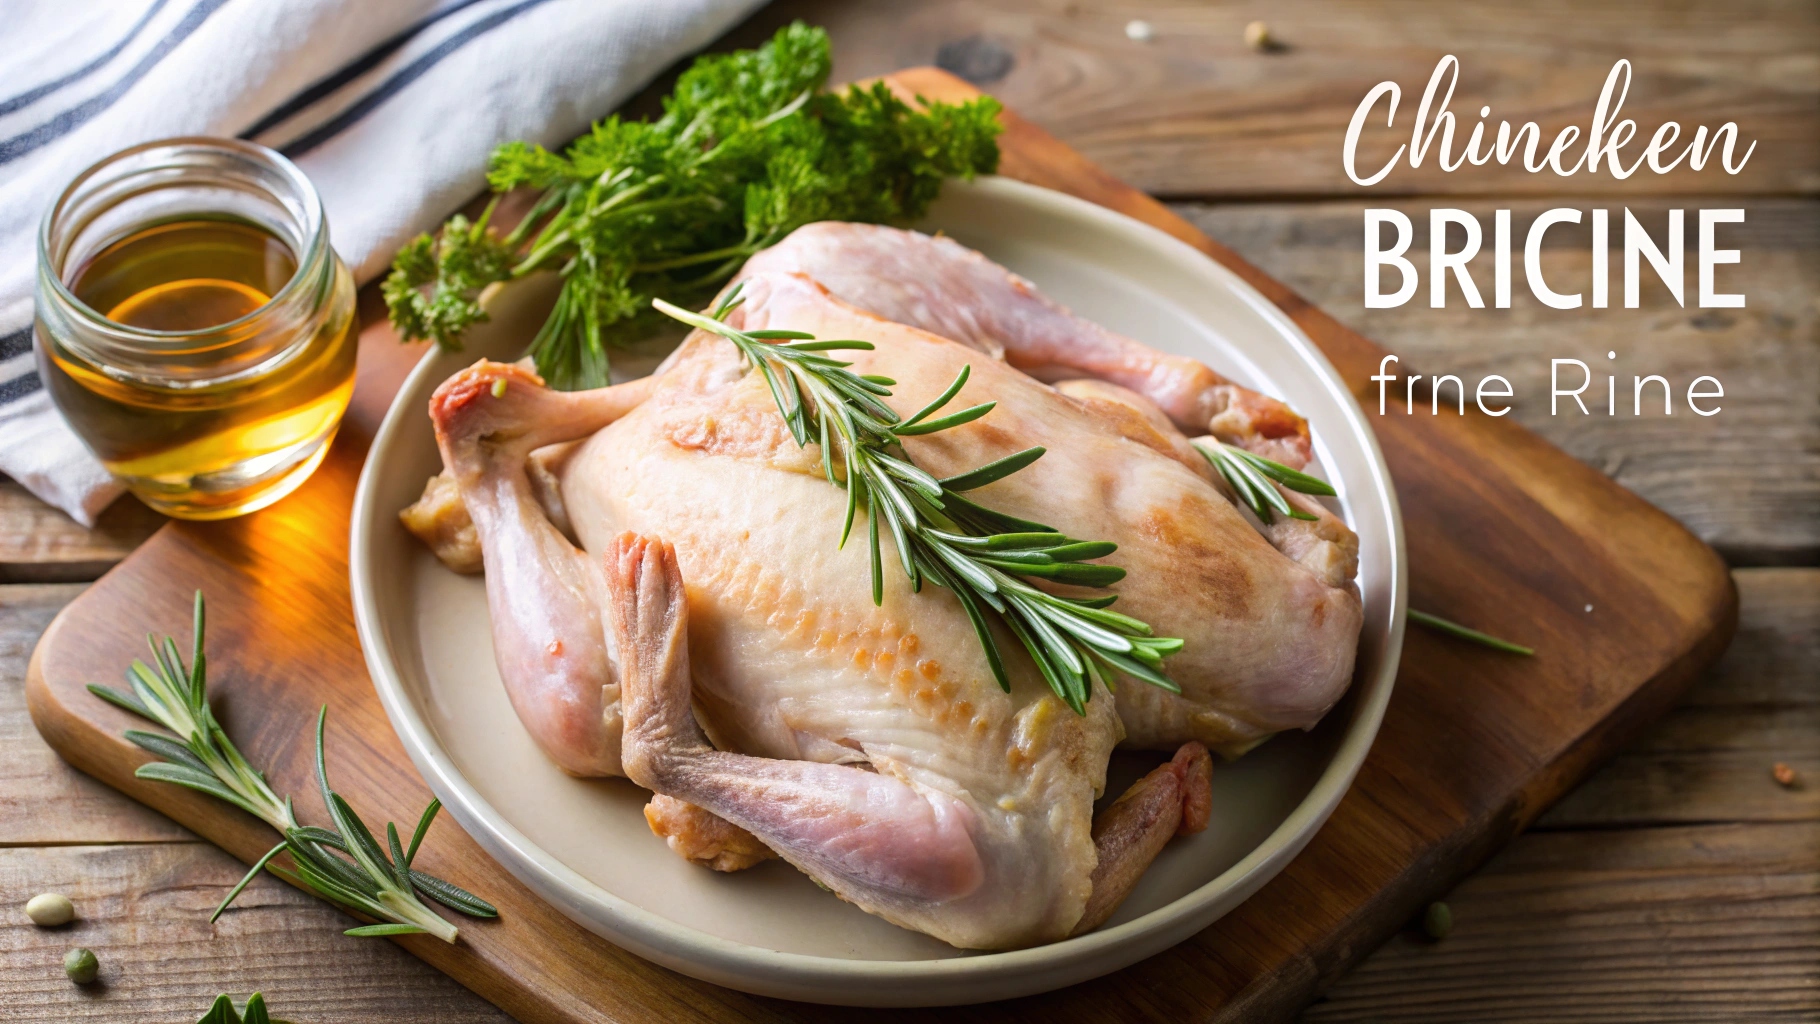
How to Properly Brine Chicken
Learning a simple brine recipe can make your chicken amazing. Brining makes meat juicy and full of flavor. It’s a skill that will impress your guests.
Getting your chicken ready for brining is key. Choose a clean, quality chicken to soak up the brine.
Getting the Chicken Ready
Before you start, do these important steps:
- Remove any giblets from the chicken cavity
- Rinse the chicken thoroughly under cold water
- Pat the chicken dry with paper towels
- Check for any excess fat or loose skin
Submerging in Brine
When you soak your chicken in brine, keep these tips in mind:
- Use a non-reactive container like glass or food-grade plastic
- Ensure the chicken is completely covered by the brine solution
- Keep the container refrigerated during brining
- Maintain a consistent temperature below 40°F
Final Preparation Steps
After brining, rinse and dry the chicken well. Rinse the chicken thoroughly to remove excess salt, then dry it with clean paper towels. This step is crucial for flavor and crispy skin.
Your homemade brine recipe is now ready to turn a simple chicken into a dish to remember. Remember, the more you practice, the better you’ll get.
Flavor Variations for Brine Recipes
Take your chicken brine to the next level by trying new flavors. The best brine recipe goes beyond salt and water. It turns simple chicken into a dish to remember.

When making your brine, play with different tastes. Think of it as a blank canvas for your creativity.
Citrus-Inspired Brine
Citrus adds a bright, rich flavor to your chicken brine. Try these zesty options:
- Lemon and rosemary
- Orange and thyme
- Lime and cilantro
Spicy Brine Additions
For a spicy kick, try these brine ideas:
- Jalapeño and garlic
- Chipotle pepper
- Red pepper flakes
Herb-Infused Brine Ideas
Fresh herbs can really boost your brine. Here are some great combos:
| Herb Combination | Flavor Profile |
|---|---|
| Sage and Thyme | Classic Thanksgiving-style |
| Basil and Oregano | Mediterranean twist |
| Dill and Parsley | Light and fresh |
Remember, finding the right balance is key. Start with a little of each ingredient and adjust to taste.
Brine Recipe for Different Cuts of Chicken
Creating the perfect brine recipe for chicken means knowing the needs of each cut. Not all chicken is the same, and your brining method should match. A quick brine can turn simple chicken into a dish that wows your guests.
Chicken cuts soak up brine in different ways. Their size, density, and meat type affect this. The right brine ensures your chicken is flavorful and moist.
Bone-In Chicken Brine
Bone-in chicken needs a stronger brine. Here’s how to get the best results:
- Make a saltier brine for bone-in pieces
- Brine for 8-12 hours for deep flavor
- Use 1 cup of salt for every gallon of water
Skinless Chicken Breasts Brine
Skinless chicken breasts are lean and need a gentler brine:
- Use a lighter salt solution (1/2 cup salt per gallon)
- Brine for 2-4 hours
- Add herbs like rosemary or thyme for flavor
Chicken Wings Brine
Chicken wings need a special brine to bring out their flavor:
- Brine for 2-3 hours max
- Use a medium salt level
- Try spicy or citrus-based brines
| Chicken Cut | Salt Ratio | Brining Time |
|---|---|---|
| Bone-In Chicken | 1 cup per gallon | 8-12 hours |
| Skinless Breasts | 1/2 cup per gallon | 2-4 hours |
| Chicken Wings | 3/4 cup per gallon | 2-3 hours |
Pro tip: Always refrigerate your chicken while brining to keep it safe and prevent bacteria.
Tips for Best Results When Brining
Brining chicken well needs focus and the right steps. A good brine recipe can make your cooking better. But, you must know a few key things to get juicy and flavorful chicken every time.
Avoiding Over-Brining
Time is key when you’re brining chicken. Different chicken pieces need different brining times to avoid too much salt. Chicken breasts need less time than bigger, tougher pieces.
- Chicken breasts: 30-60 minutes
- Whole chicken: 8-12 hours
- Chicken thighs: 2-4 hours
Container Choices for Brining
Choosing the right container is important for brining. Your container must be safe for food and big enough to cover the chicken.
| Container Type | Pros | Cons |
|---|---|---|
| Glass Bowl | Non-reactive, easy to clean | Breakable, heavy |
| Stainless Steel Pot | Durable, conducts cold well | Can be expensive |
| Food-Grade Plastic Container | Lightweight, affordable | May absorb odors |
Temperature Considerations
Keeping the right temperature while brining is key for safety and flavor. Always brine chicken in the fridge, keeping it under 40°F to stop bacteria from growing.
- Use a refrigerator thermometer
- Place brining container on the bottom shelf
- Cover the container to prevent cross-contamination
Pro tip: Always pat your chicken dry after brining to ensure crispy skin and perfect seasoning.
Cooking Methods for Brined Chicken
After making your simple brine recipe, picking the right cooking method is key. Brined chicken is great for many cooking styles, making every meal a hit.
Learning how to cook brined chicken right will make it juicy and full of flavor. This impresses everyone. Here are three top ways to cook brined chicken to perfection.
Roasting Brined Chicken
Roasting brined chicken needs attention to temperature and timing. First, dry the chicken well after brining for crispy skin. Then, preheat your oven to 425°F and follow these steps:
- Remove chicken from brine 30 minutes before cooking
- Pat chicken completely dry with paper towels
- Rub with olive oil and seasonings
- Roast until internal temperature reaches 165°F
Grilling Brined Chicken
Grilling adds a smoky flavor to your brined chicken. Use medium-high heat and set up a two-zone grill for the best results.
- Preheat grill to 375-400°F
- Oil grates to prevent sticking
- Grill over direct heat for beautiful char marks
- Finish cooking over indirect heat
Frying Brined Chicken
Frying gives you a crispy outside and a tender inside. Keep the oil temperature steady and follow these tips:
- Heat oil to 350°F
- Drain chicken thoroughly after brining
- Dredge in seasoned flour
- Fry until golden brown and internal temperature reaches 165°F
No matter your cooking choice, a good brine recipe makes chicken irresistible. It’s a dish that everyone loves.
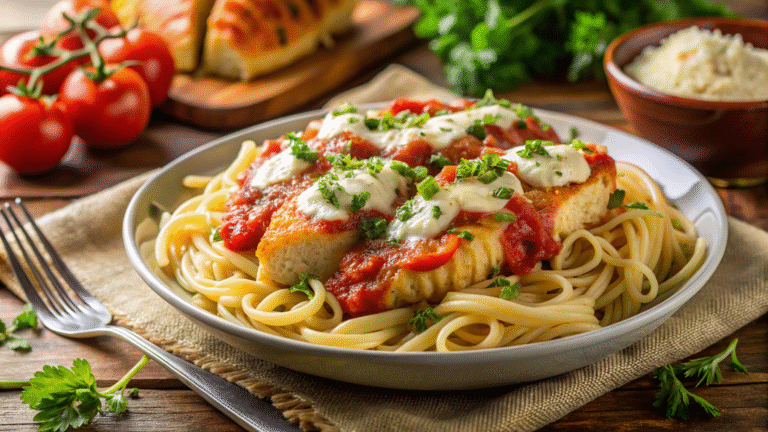
Serving Suggestions for Brined Chicken
After you’ve made your homemade brine, it’s time to turn your chicken into a memorable meal. Your brine has already made the meat taste better and feel softer. This is the start of a great dining experience.
Choosing the right side dishes can make your meal even better. Try pairing your chicken with roasted veggies like Brussels sprouts or sweet potatoes. A light quinoa salad or creamy mashed potatoes can also complete the meal.
Sauces can take your chicken’s taste to the next level. A tangy lemon-herb sauce, creamy garlic aioli, or spicy chimichurri can add depth. Always refrigerate leftover chicken within two hours and eat it in 3-4 days for the best taste and safety.
Pro tip: When reheating chicken, use low heat to keep it moist. The oven or steaming are good methods to keep the chicken juicy and flavorful.