Baked Split Chicken Breast: How to Cook Juicy in 30 Minutes

Every home cook faces the challenge of making a tasty meal without spending hours in the kitchen. Baked split chicken breast has been my go-to for turning simple weeknight dinners into special moments. It’s not just about food; it’s about sharing moments with family and friends.
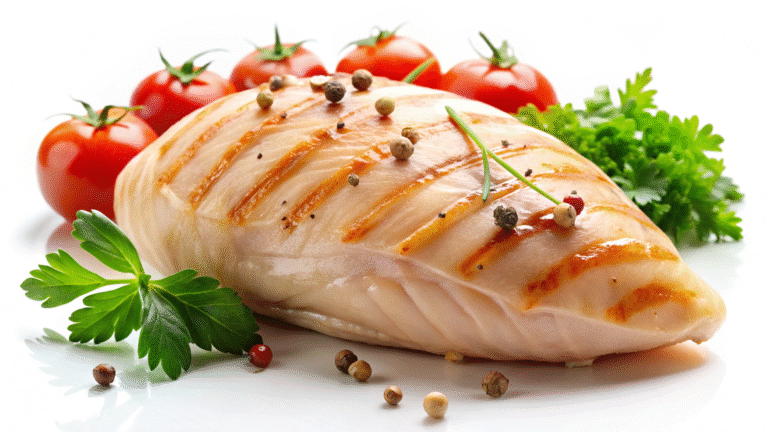
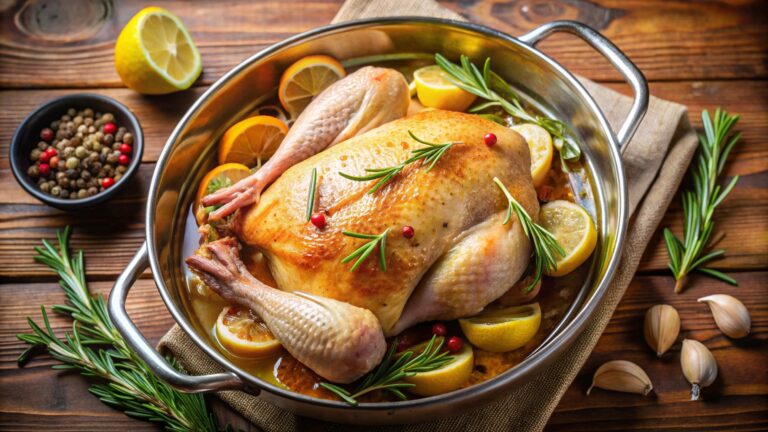
Split chicken breasts are a game-changer for those looking to add flavor with little effort. Unlike boneless cuts, these have bone and skin, giving them a rich taste that makes your dishes stand out.
Picture this: pulling a golden, fragrant chicken from the oven. It’s crispy on the outside, juicy inside, and full of flavor. That’s what this easy baked split chicken breast recipe promises.
Key Takeaways
- Split chicken breasts provide superior flavor compared to boneless options
- Easy baking method requires minimal cooking expertise
- Bone-in chicken retains more moisture during cooking
- Perfect for quick weeknight meals or special dinners
- Versatile recipe adaptable to various seasoning preferences
Understanding Split Chicken Breasts: A Cut Above the Rest
Choosing the right chicken cut can make your cooking stand out. Split chicken breasts are a popular choice for home cooks. They offer a unique way to prepare lean protein.
To make a tasty roasted chicken breast, knowing about different cuts is key. Split chicken breasts have benefits that make them better than boneless skinless chicken breasts.
What Makes Split Chicken Breasts Unique
Split chicken breasts have special features that chefs love:
- Retained bone adds deeper flavor complexity
- Natural moisture preservation during cooking
- More affordable compared to pre-processed cuts
- Versatile for multiple cooking techniques
Benefits of Cooking with Bone-in Chicken
Bone-in chicken is great for home cooking. The bone helps heat spread evenly, keeping meat juicy and tender. This prevents dry, stringy meat common in boneless cuts.
Why Choose Skin-on Chicken Breasts
Keeping the skin on chicken breasts helps keep moisture in. When roasted right, the skin gets crispy and tasty. This adds a nice texture to your dish. Chefs say it’s the secret to making food taste like it’s from a restaurant.
Pro tip: Always pat your chicken dry before seasoning to achieve the crispiest skin possible!
Essential Kitchen Tools for Perfect Baked Split Chicken Breast
Starting with the right tools is key to making healthy chicken dishes. To get restaurant-quality results at home, you need a few important pieces of equipment.
Here’s what you should have for delicious split chicken breasts:
- Accurate Oven Thermometer: Ensures precise temperature control for perfectly cooked chicken
- Roasting Pan or Ceramic Baking Dish: Provides even heat distribution
- Roasting Rack (optional): Allows air circulation around the chicken
- Sharp Kitchen Knife: For trimming and preparing the chicken
- Meat Thermometer: Confirms internal temperature for food safety
Choose a sturdy roasting pan that can handle high oven temperatures. Ceramic, cast iron, or heavy-duty metal pans are best. A pan with raised edges catches the tasty cooking juices.
Your oven thermometer is vital for accurate temperatures. Home ovens can be off by 25-50 degrees, affecting cooking. An independent thermometer ensures your chicken cooks just right.
Pro tip: Invest in quality tools that will last multiple cooking sessions and help you consistently prepare delicious meals.
With these tools, you’re ready to make perfectly baked split chicken breasts. They’ll be both healthy and full of flavor.
Preparing Your Chicken for Maximum Flavor
Starting a delicious healthy dinner begins with the right preparation. Split chicken breasts are a great choice because they are low in fat but high in protein. To get the best flavor and texture, follow some key pre-baking steps.
Before cooking, a few important steps can make your chicken truly special. The right seasoning and handling can turn a simple protein into a flavorful meal.
Seasoning Combinations That Work
Choosing the right seasonings can make your meal unforgettable. Here are some great flavor combinations:
- Classic herb blend: Dried rosemary, thyme, and garlic powder
- Spicy option: Smoked paprika, cayenne, and black pepper
- Mediterranean inspired: Oregano, basil, and lemon zest
Oil Selection and Application Tips
The type of oil you use can greatly affect the taste and cooking results. Extra virgin olive oil is a great choice because it’s healthy and tastes great.
| Oil Type | Flavor Profile | Recommended Use |
|---|---|---|
| Extra Virgin Olive Oil | Rich, fruity | Best for Mediterranean-style dishes |
| Avocado Oil | Neutral, smooth | High-heat cooking |
| Coconut Oil | Subtle sweetness | Light, tropical-inspired meals |
Pre-baking Preparation Steps
To make sure your chicken is at its best, follow these pre-baking steps:
- Pat chicken dry with paper towels to remove excess moisture
- Let chicken rest at room temperature for 30 minutes
- Generously season both sides of the meat
- Lightly coat with chosen oil
Pro tip: Always handle raw chicken with care, using separate cutting boards and washing hands thoroughly to prevent cross-contamination.
The Perfect Temperature and Timing Guide

To get perfect oven-baked chicken, you need to focus on temperature and timing. Quick weeknight dinners require a method that’s both safe and tasty.
For split chicken breasts, the key is 375°F (190°C). This temperature helps cook the chicken evenly, keeping it juicy and tender. The cooking time depends on the chicken’s size.
- Smaller breasts (6-8 oz): 35-45 minutes
- Medium breasts (8-10 oz): 45-55 minutes
- Large breasts (10-12 oz): 55-65 minutes
Internal temperature is crucial when cooking chicken. Always use a meat thermometer to check that the chicken reaches 165°F (75°C) at its thickest part. This ensures your chicken is safe and juicy.
Remember, different ovens cook differently. Here are some tips:
- Preheat your oven completely before placing chicken inside
- Use a reliable meat thermometer
- Let chicken rest for 5-10 minutes after cooking to redistribute juices
Pro tip for quick weeknight dinners: Use a digital meat thermometer with an alarm. It alerts you when your chicken is ready. This makes cooking easier and ensures your chicken is always delicious.
Herb and Spice Combinations for Incredible Results
Turning your chicken recipes into something special starts with the right herbs and spices. Choosing the perfect mix can make a simple dish into a feast for your taste buds. It also helps you meet your diet-friendly protein goals.
Trying out different seasoning blends keeps your meals fresh and healthy. Whether it’s a quick dinner or a fancy meal, the right spices can make your chicken breasts stand out.
Classic Mediterranean Blend
The Mediterranean flavor is a strong mix of herbs that go well with chicken. Your blend should include:
- Dried rosemary
- Fresh basil leaves
- Oregano
- Garlic powder
- Cracked black pepper
Simple Everyday Seasonings
For those who are always on the go, these easy seasonings are perfect:
- Italian seasoning
- Paprika
- Salt and pepper
- Onion powder
Gourmet Flavor Variations
For a fancy touch, try these gourmet spice mixes:
- Smoky Chipotle: Chipotle powder, cumin, smoked paprika
- Herbes de Provence: Thyme, marjoram, fennel seeds
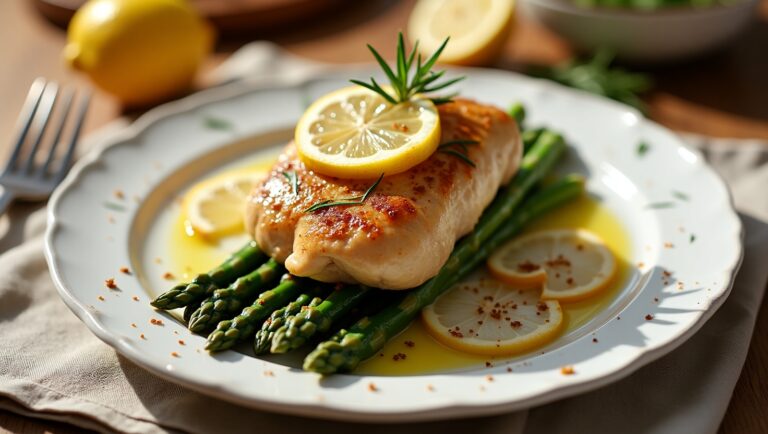
- Lemon Herb: Dried lemon zest, thyme, parsley
Trying out these herb and spice mixes will make your chicken recipes exciting. They keep your meals healthy and full of flavor.
Step-by-Step Baking Instructions
Learning to bake split chicken breast is easy with the right steps. It makes your meal prep simple and delicious. Follow these easy steps to make a tasty main dish.
- Preheat Your Oven
Heat your oven to 425°F (218°C). This high temperature helps get crispy skin and juicy meat.
- Prepare the Chicken
Wipe the chicken breasts dry with paper towels. This step helps the seasonings stick and brown better.
- Seasoning Technique
Coat the chicken with olive oil, salt, and your favorite herbs. Rub the seasonings into the skin for more flavor.
- Baking Setup
Put the chicken breasts in a big baking dish, skin-side up. Make sure they have space for even heat.
- Cooking Process
Bake for 35-45 minutes. Use a meat thermometer to check if it’s 165°F inside.
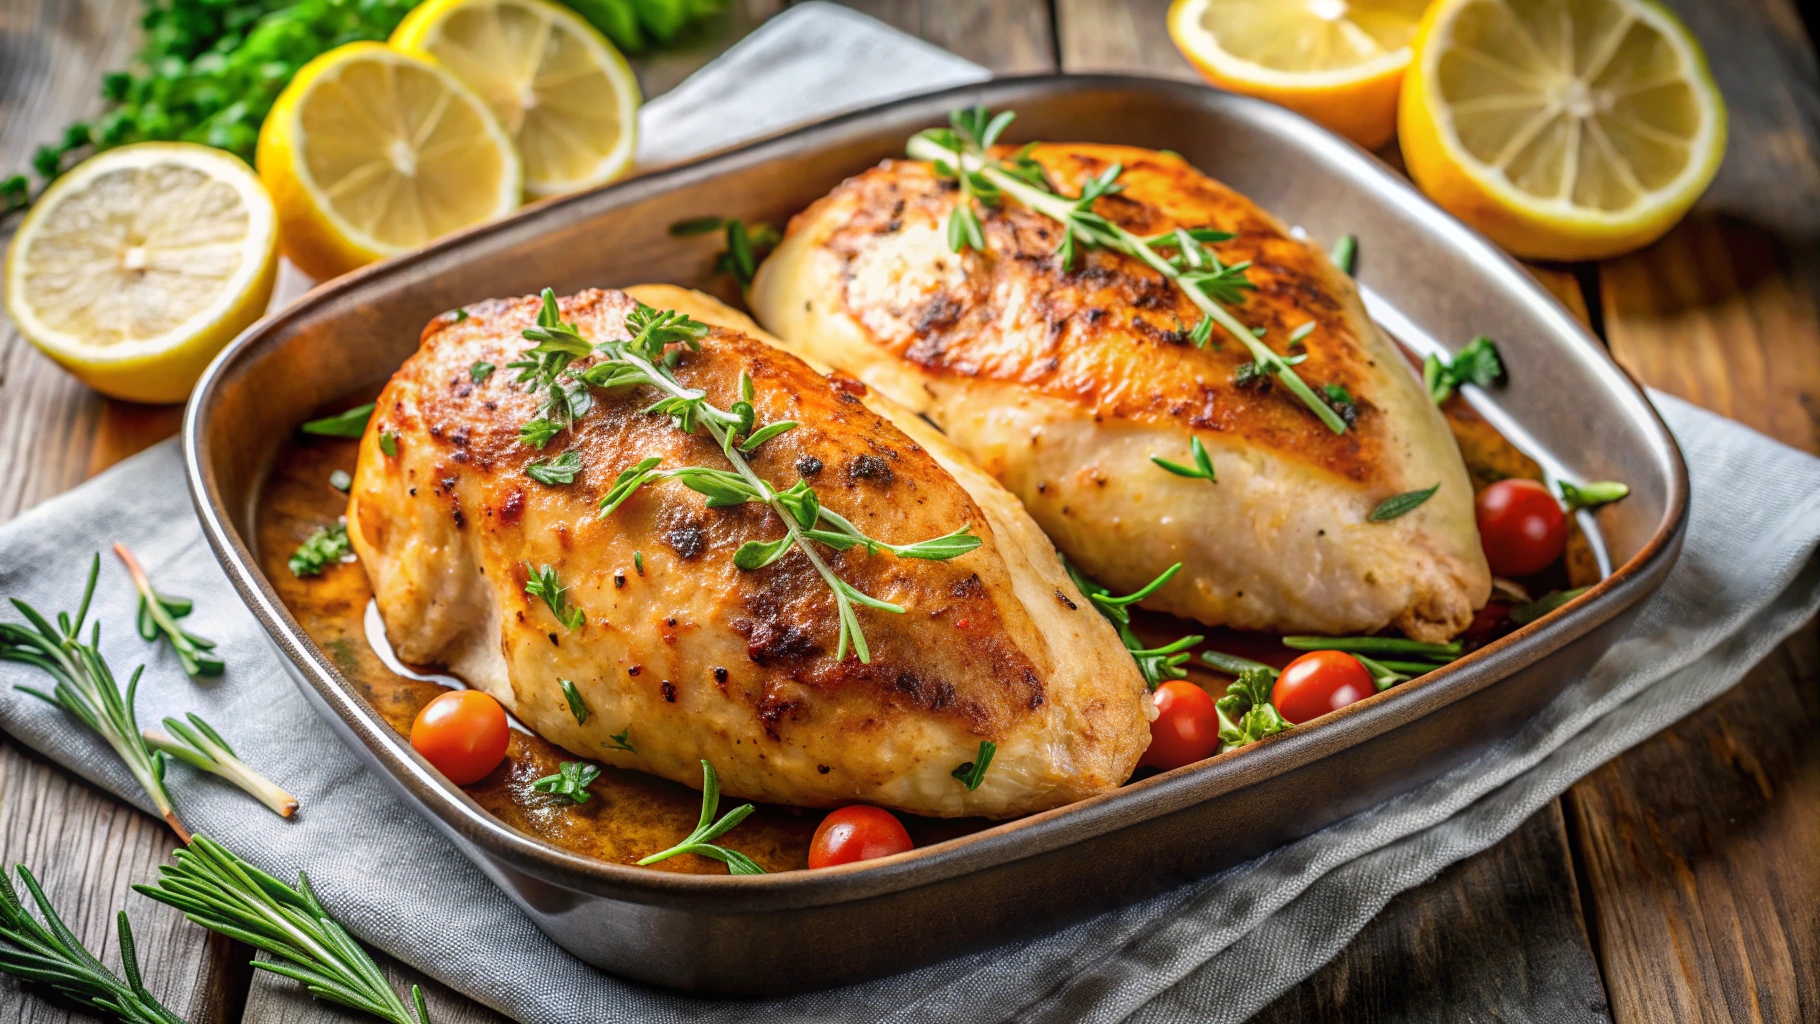
Your baked split chicken breast is now ready. It’s a great protein-rich meal that’s both tasty and healthy.
How to Achieve Crispy Skin and Juicy Meat
Learning to make a perfectly roasted chicken breast is key. It’s all about getting the skin crispy and the meat juicy. This makes your low-carb meals truly special.
Getting that golden, crispy skin while keeping the meat juicy is an art. It’s all about how heat works with chicken skin and meat.
Temperature Control Techniques
Getting your roasted chicken just right is all about temperature. Here are some expert tips:
- Start with a high oven temperature (425°F) to crisp the skin
- Reduce heat to 350°F to cook the meat evenly
- Use a meat thermometer to ensure internal temperature reaches 165°F
Moisture Management Methods
To keep your chicken moist, you need to prepare it right:
- Pat the chicken skin completely dry with paper towels
- Apply a light coating of olive oil
- Season generously with salt to help render fat
- Avoid basting during the first cooking phase
Pro tip: Let the chicken rest for 5-10 minutes after cooking. This helps keep the juices in and makes it moist.
The secret to perfect roasted chicken is patience and precision in temperature control.
Serving Suggestions and Side Dish Pairings
Your baked split chicken breast can turn into a tasty healthy dinner with the right sides. It’s easy to make protein-rich dishes that go well with your main course. Low-carb meals can be both filling and tasty with the right sides.

Roasted vegetables pair well with your chicken. Here are some veggie options that make your meal better:
- Roasted Brussels sprouts with garlic
- Cauliflower rice for a low-carb alternative
- Zucchini noodles with herb seasoning
- Roasted asparagus with lemon zest
To make a complete one-pan meal, just add your favorite veggies to the roasting pan with the chicken. This way, you get more flavor and less cleanup.
| Side Dish Category | Recommended Options | Preparation Time |
|---|---|---|
| Low-Carb Sides | Cauliflower mash, roasted broccoli | 15-20 minutes |
| Protein-Rich Additions | Quinoa salad, Greek yogurt dip | 10-15 minutes |
| Quick Vegetable Sides | Sautéed spinach, grilled vegetables | 10 minutes |
Pro tip: Try different herb mixes to keep your meals exciting. A bit of fresh herbs like rosemary or thyme can make your protein dishes stand out.
Storage and Leftover Ideas
Your delicious baked split chicken breasts don’t have to end after the first meal. With smart meal prep strategies, you can transform leftovers into exciting quick weeknight dinners. These meals will help you get more diet-friendly protein.
Proper storage is key to keeping your cooked chicken fresh and safe. Follow these essential guidelines to keep your leftovers delicious and nutritious:
- Cool chicken completely within 2 hours of cooking
- Store in airtight containers
- Refrigerate at 40°F or below
- Consume within 3-4 days
Creative Leftover Transformations
Turn your leftover baked split chicken breasts into exciting new meals. Your family will love these quick and easy recipe ideas. They help you reinvent your protein without losing flavor:
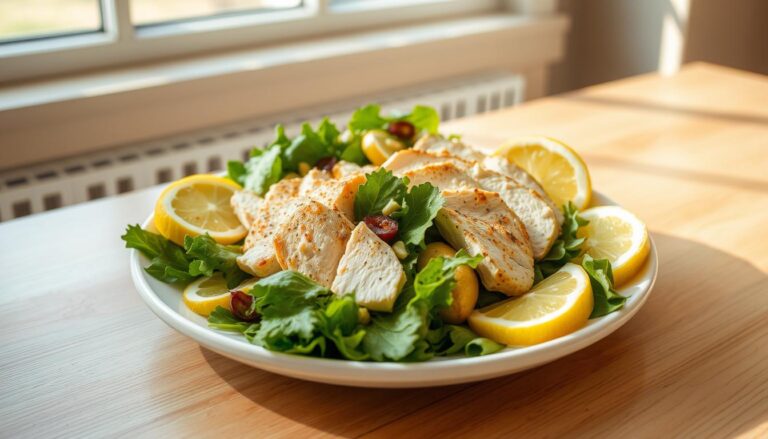
- Chicken Salad Sandwiches: Shred chicken and mix with Greek yogurt, herbs, and diced vegetables
- Mexican-Style Chicken Quesadillas
- Hearty Chicken and Vegetable Soup
- Protein-Packed Chicken Caesar Salad
Freezing for Future Meals
Maximize your meal prep by freezing leftover chicken. Properly stored chicken can stay frozen for up to 4 months. Wrap individual portions in freezer-safe bags, removing as much air as possible to prevent freezer burn.
Pro tip: Label your containers with the date of storage to track freshness and optimize your meal planning.
Conclusion
Baking split chicken breasts can make any meal special. You’ve learned how to make healthy chicken dishes easily. This skill lets you cook with less effort but more taste.
Every chicken breast recipe is a chance to get creative in the kitchen. You now know how to pick the best cut and cook it just right. This knowledge helps you make tasty chicken for any occasion.
Don’t be afraid to try new herbs, spices, and sides. This will keep your meals fresh and exciting. As you get better, you’ll know exactly how to make chicken that’s both crispy and juicy.
Now, you can turn a simple chicken breast into a memorable dish. Enjoy cooking, trust your skills, and relish the delicious outcomes.